
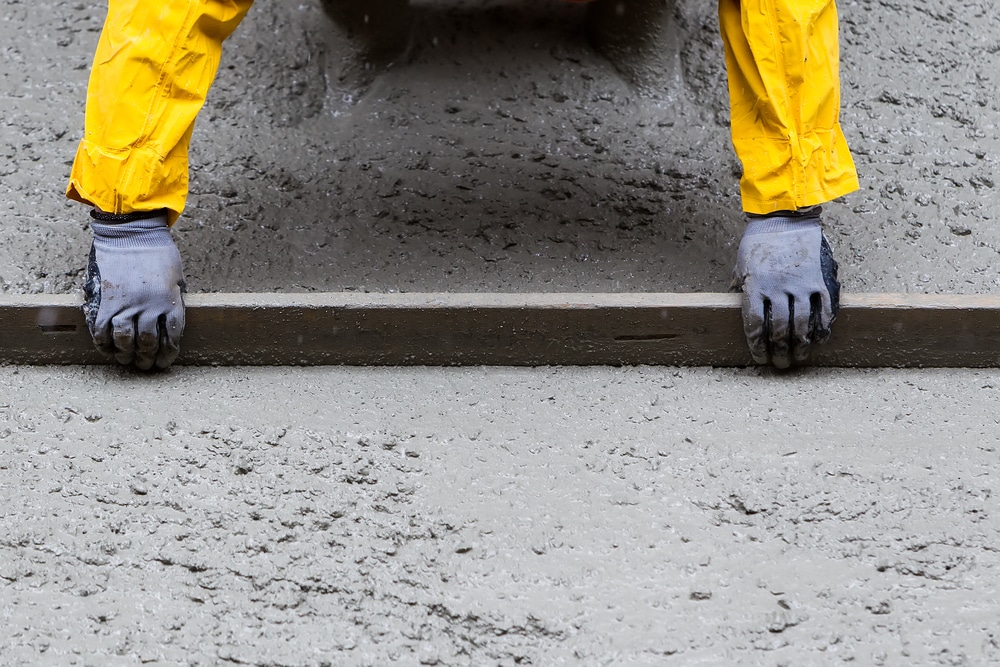
A concrete shed foundation creates a durable, level base for workshops, garages, heavy storage, and sheds that use the slab as the finished floor. The slab must be designed for the shed, soil, drainage, climate, and local code—not copied from a one-size-fits-all recipe. This guide explains the planning and construction sequence so you can discuss the right details with your building department, concrete supplier, or contractor.
If you are still deciding between foundation types, start with our shed foundation planning guide and compare concrete versus gravel shed foundations.
Is a Concrete Slab Right for Your Shed?
Concrete is often a strong choice when the shed will hold heavy equipment, serve as a workshop, require a washable floor, or remain in place for decades. It resists rot and provides continuous support, but it costs more and is harder to alter than a gravel pad or skid foundation.
- Good uses: workshops, large sheds, motorcycles, compact tractors, and buildings with slab-level doors.
- Potential drawbacks: higher cost, permanent placement, difficult utility changes, and greater sensitivity to poor drainage or frost movement.
- Important: confirm that the shed manufacturer or building plan permits slab installation and shows how walls and anchors connect to it.
Plan the Slab Before Excavation
Confirm the shed footprint, wall system, door opening, floor elevation, equipment loads, utilities, and anchoring method before ordering materials. Ask the local building department about permits, setbacks, frost-depth requirements, reinforcement, thickened edges or footings, vapor retarders, and inspection timing. Call the utility-marking service before digging.
A slab should not project beyond the siding where it can collect rainwater. Your plans should show the exact slab dimensions and the relationship between the concrete, sill plate, wall cladding, and door threshold. If you need a complete shed design and materials list, review Ryan’s Shed Plans before finalizing the foundation.
Affiliate disclosure: we may earn a commission from purchases through this link at no added cost to you.
Choose a Well-Drained Site
Observe the site after heavy rain. Avoid depressions, drainage swales, flood-prone ground, buried organic material, and locations where downspouts discharge. Route surface water away from the finished slab without sending it onto neighboring property. Soft, expansive, saturated, or recently filled soil may require additional excavation, engineered fill, drainage work, or professional design.
Establish the finished-floor elevation before excavation. The slab and wood framing must remain high enough above surrounding grade to reduce splashback and moisture exposure while keeping doors usable.
Excavate and Prepare the Subgrade
Remove sod, roots, topsoil, and other organic material across the entire slab area. Excavate to the depth required for the compacted base, slab, and any thickened edges or footings specified by the approved design. Do not simply pour over loose soil.
- Compact the exposed subgrade with equipment suited to the soil and project size.
- Remove or repair soft spots instead of hiding them beneath stone.
- Install geotextile separation fabric where the soil conditions and local design call for it.
- Place approved angular aggregate in manageable lifts and compact each lift thoroughly.
- Recheck elevation, flatness, and drainage before building forms.
Base thickness varies by soil, frost conditions, and load. Follow the permitted plan or local professional guidance instead of assuming that one depth works everywhere. For a pad-style alternative, see the gravel shed base guide.
Build Square, Rigid Concrete Forms
Use straight form lumber appropriate for the slab depth. Stake and brace the forms so they cannot bow or move under wet-concrete pressure. Measure the length and width at several points, then compare the two diagonal measurements to confirm the form is square. Set elevations with a laser, builder’s level, or carefully tensioned string lines.
Apply form release where appropriate and verify that all planned sleeves, conduits, drains, anchor locations, and door details are accounted for before the pour. Last-minute changes are difficult once the truck arrives.
Install the Vapor Retarder and Reinforcement
For an enclosed shed—especially a conditioned workshop or building with moisture-sensitive contents—a properly specified under-slab vapor retarder can limit ground moisture transmission. Use the material and placement required by the design and local code. Seal seams and penetrations as directed by the manufacturer and protect the membrane from punctures.
Reinforcing steel, welded wire reinforcement, or fiber reinforcement can help control cracking, but each has different purposes and placement requirements. Reinforcement must be supported at its designed height; material lying on the ground cannot perform as intended. Follow the approved plan for bar size, spacing, laps, clear cover, edge reinforcement, and any thickened areas.
Calculate and Order the Concrete
Concrete volume in cubic yards is calculated as:
Length (feet) × width (feet) × thickness (feet) ÷ 27
For example, a nominal 10-by-12-foot slab at 4 inches thick is about 1.48 cubic yards before accounting for thickened edges, uneven excavation, waste, and the supplier’s ordering allowance. Measure the actual forms and include every footing or turned-down edge. Confirm the required compressive strength, aggregate, air entrainment, slump, fiber, and admixtures with the plans and ready-mix supplier.
Bagged concrete may be practical for very small pours. A larger slab is usually more consistent and manageable with ready-mix delivery and enough people, tools, and access to place it without interruption.
Prepare for Pour Day
Concrete placement is time-sensitive. Complete inspections, confirm weather conditions, protect nearby surfaces, and stage tools before delivery. Arrange safe access for the truck, pump, or wheelbarrows without damaging the prepared base.
- Have screed boards, shovels, come-alongs, floats, edgers, finishing tools, and curing materials ready.
- Provide adequate labor for placement, screeding, edging, joint work, and cleanup.
- Do not add uncontrolled water to the mix to make placement easier; excess water can reduce strength and increase shrinkage.
- Wear waterproof gloves, rubber boots, eye protection, long sleeves, and other appropriate protective equipment. Wet concrete can cause serious chemical burns.
Place, Screed, and Finish the Slab
Place concrete continuously and work it into corners and around reinforcement without displacing the vapor retarder or steel. Consolidate it using an appropriate method, then strike it off with a straight screed resting on the forms. Fill low areas immediately and rescreed while the concrete is workable.
After bleed water disappears and the surface is ready, edge the slab and apply the finish appropriate for the shed. A light broom finish improves traction; a smoother finish may suit some interior uses. Avoid overworking the surface or finishing while bleed water is present.
Control Joints and Curing
Concrete naturally shrinks as it cures, so cracks cannot be guaranteed away. Properly located control joints encourage shrinkage cracks to form at planned lines. Joint spacing, depth, and timing depend on slab thickness, geometry, reinforcement, mixture, weather, and local practice. Isolate the slab from existing structures where the design requires it.
Curing preserves moisture so concrete can gain strength. Begin the specified curing method promptly after finishing and protect the slab from rapid drying, freezing, heavy rain, foot traffic, and loads. Follow the concrete supplier’s and curing-product manufacturer’s instructions. Do not build walls or place heavy equipment until the slab has developed the strength required by the plans.
Anchor the Shed Correctly
A concrete slab supports the building but does not automatically resist wind uplift or lateral forces. Install cast-in-place anchors or approved post-installed anchors at the spacing and edge distances shown on the plans. Use a compatible sill gasket or capillary break beneath wood plates where required.
Coordinate anchor locations with doors, wall studs, hold-downs, and utilities. Continue with our shed anchoring guide, shed wall framing guide, and shed floor design guide.
Common Concrete Shed Foundation Mistakes
- Skipping permits, utility marking, or required inspections.
- Using the shed’s nominal size instead of the exact slab dimensions in the plans.
- Pouring on topsoil, loose fill, frozen soil, or an uncompacted aggregate base.
- Allowing the slab edge to catch water beneath the siding.
- Placing reinforcement directly on the ground.
- Adding excessive water or beginning finishing too early.
- Omitting planned joints, curing, or wind anchors.
- Loading the slab before it has gained adequate strength.
Concrete Shed Foundation Checklist
- Approved shed plans, permits, setbacks, and utility markings confirmed
- Drainage and finished-floor elevation established
- Organic material removed and subgrade corrected
- Aggregate base placed and compacted in lifts
- Forms square, level, rigid, and correctly sized
- Vapor retarder, reinforcement, sleeves, and anchors coordinated
- Concrete quantity and mixture confirmed with the supplier
- Labor, tools, safety equipment, weather protection, and curing materials ready
- Control joints, curing period, and construction schedule planned
Final Thoughts
A long-lasting concrete shed foundation begins with site and drainage decisions, not with the concrete truck. Accurate plans, stable compacted material, rigid forms, correctly supported reinforcement, coordinated anchors, timely finishing, and proper curing all matter. When soil, frost, slopes, retaining walls, or heavy loads make the design uncertain, use a qualified local concrete professional or engineer.
Return to the complete shed foundation guide to compare your options, or review concrete and gravel foundations before committing to the project.