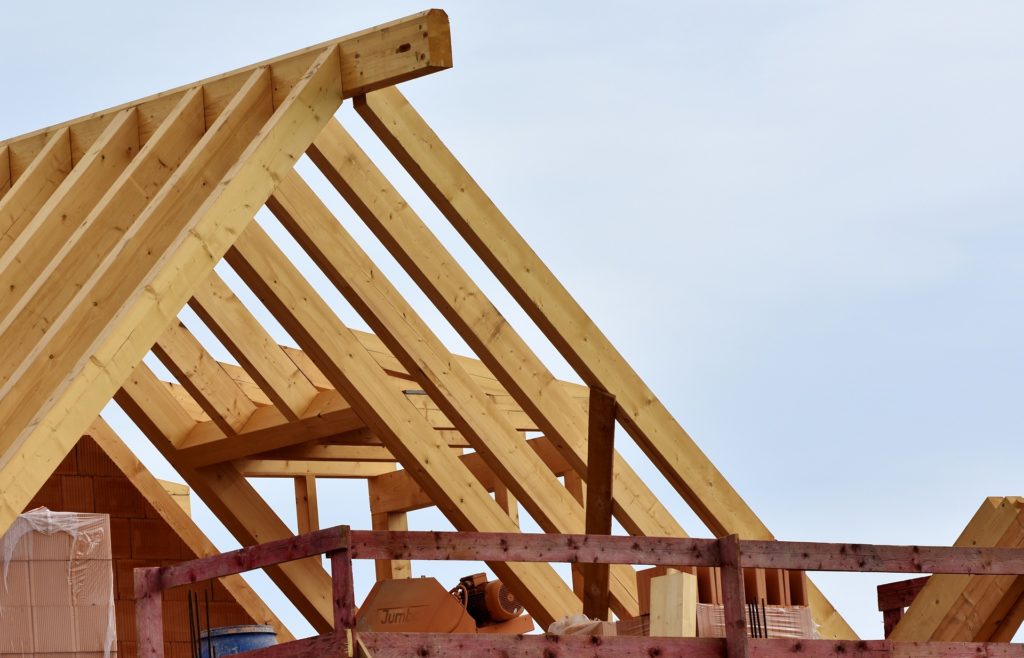
To build shed trusses correctly, start with a truss design for the actual shed span, roof shape, loads and connections—not a generic triangle cut from two-by-fours. A small shed still needs a roof system that supports its covering and transfers loads safely to the walls and foundation.
This guide helps you choose between manufactured trusses, a specifically designed site-built truss, and a separate rafter system. It explains the preparation, fabrication checks and installation questions, but does not provide a universal truss cut list or structural design.
Start with the complete wood shed construction guide and finish the wall framing checks before roof installation.
Affiliate disclosure: We may earn a commission from purchases through our Ryan’s Shed Plans links, at no additional cost to you.
Choose trusses or rafters before building
Manufactured trusses are engineered assemblies supplied with project-specific design information and installation documentation. Coordinate the roof loads, bearing locations, spacing, overhangs and bracing with the supplier and building designer.
Site-built trusses require a complete design specifying members and connections. Copying a shape from a photograph does not establish its capacity. A plywood-gusset design and a factory metal-plate design are not interchangeable.
Rafters are a different framing system. A lean-to roof often uses individual rafters rather than trusses. Gable and gambrel describe roof shapes; they do not, by themselves, specify how the roof is supported. Our 12×12 shed rafter article addresses that separate topic.
Decide whether the space below the roof will include storage, a ceiling or equipment. Do not assume the bottom chord is a storage floor unless the design specifically allows the intended load.
Confirm the design and materials
Before ordering, confirm the bearing-to-bearing span, roof pitch, truss spacing, overhangs, roof covering, ceiling or storage loads, and locally applicable wind and snow criteria with the designer or supplier. Also confirm how the roof connects to the walls and foundation.
- Use the lumber sizes, species and grades in the design.
- Use the specified gussets or connector system and exact fastener schedule.
- Have the design drawings, placement information and bracing instructions available on site.
- Arrange a flat assembly area where appropriate, measuring tools, cutting equipment, suitable personal protection and a safe lifting/access plan.
There is no universal three-inch screw, nail or adhesive that makes every truss joint adequate. Do not add construction adhesive as a substitute for designed connections. A rafter calculator can help explain geometry, but cannot verify truss strength.

Preparing a designed site-built truss
Understand the truss parts
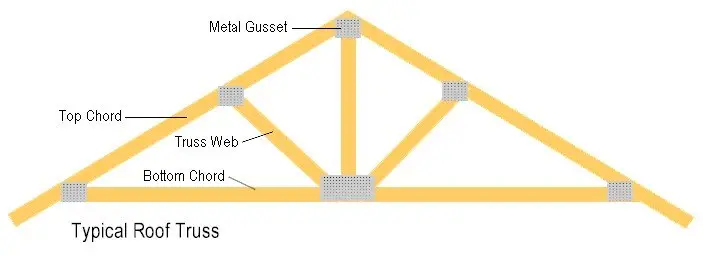
A truss typically has top chords, a bottom chord, and—in many configurations—internal webs. Connections join the members into the designed assembly. The exact arrangement and forces depend on the design.
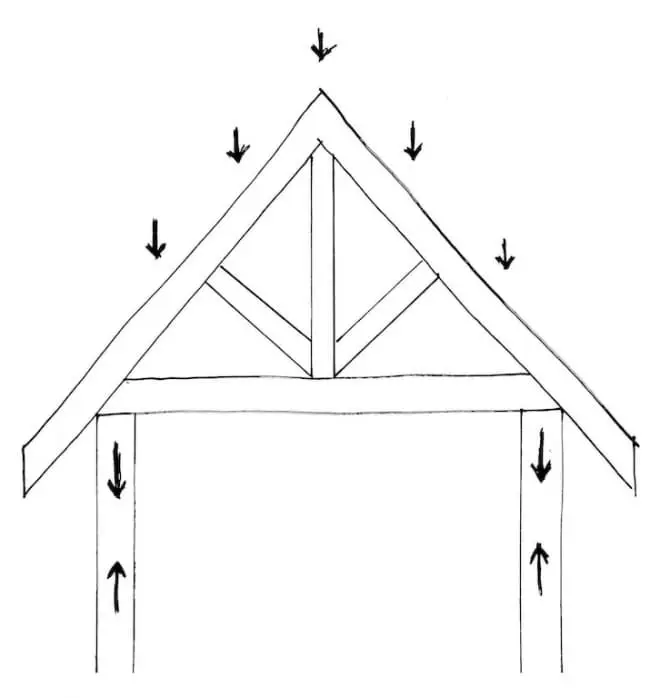
The illustrations retained below show concepts from the earlier article, not approved cutting or connection details. Do not use their angles, proportions or fastener patterns as specifications for your shed.
For manufactured trusses, follow the supplied drawings rather than fabricating replacement parts. For a site-built design, check lumber condition and follow the specified orientation and assembly procedure before cutting anything.
Check bottom-chord length and bearing
For a designed site-built truss, obtain the bottom-chord length and end details from its drawing. The outside width of the shed floor is not automatically the correct chord dimension, and adding an arbitrary quarter inch can change the fit at the supports.
Confirm where the truss bears on each wall and whether any splice is allowed. Do not splice short pieces together or change end cuts without a designed detail. Mark and check the first component before producing the rest.
Follow the top-chord geometry
Use the specified pitch, top-chord lengths, joint geometry, bearing details and overhangs. Roof pitch expressed as rise per 12 units of run is not the same as an angle in degrees. A universal 30-degree or 60-degree cut is not appropriate for every roof.
Check an approved first assembly against the design before repeating cuts. Do not force poorly fitting joints together or remove material to make a truss sit on an incorrectly positioned wall. Resolve discrepancies with the designer.
Use the specified gussets and connectors
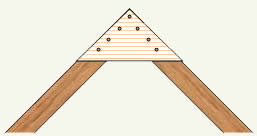
Gussets are structural connections, not simply scraps large enough to cover a joint. For a site-built plywood-gusset truss, follow the specified panel grade and thickness, grain orientation, dimensions, fastener type, spacing, edge distances and required faces. Adhesive should be used only where the design specifies it.
Factory toothed metal connector plates require the specified manufacturing process; they are not equivalent to a hand-nailed connector. Do not swap plywood, OSB, nail-on plates or factory plates for one another. The American Wood Council’s gusset reference points readers to dedicated truss-design information.
Use a jig for repeatable assembly
A jig is an assembly aid for a fully specified site-built design. It helps position repeated members; it does not prove the design is strong enough. Use a flat, stable work surface and establish the reference lines from the drawings.
Locate stops around a checked first layout without obstructing the connection work. Verify overall dimensions, joint fit and bearing points on each assembly. If using the shed floor as the work surface, protect it and do not damage concealed services or structural components while fastening temporary stops.
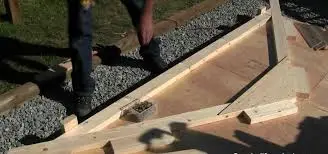
Inspect, handle and brace the roof system
Complete every connection and required check according to the site-built design, or inspect delivered manufactured trusses against the supplier’s documentation. Identify damage, missing connectors or mismatched dimensions before lifting. Do not improvise repairs or modify truss members.
Installation requires a plan for lifting, safe access, temporary restraint and diagonal bracing, followed by the permanent bracing and connections. Do not release lifting support until the truss is secured as required, and do not leave an unbraced row standing.
For metal-plate-connected wood trusses, consult the supplier’s jobsite package and SBCA’s Building Component Safety Information guide. Requirements depend on the assembly; sheathing does not automatically replace every specified brace. Keep people clear of suspended components and arrange competent help and appropriate fall protection.
The following retained video is visual context only. Its details are not a substitute for your design and installation instructions.
Truss assembly video: context, not a design
Birdsmouth rafters are not interchangeable with trusses
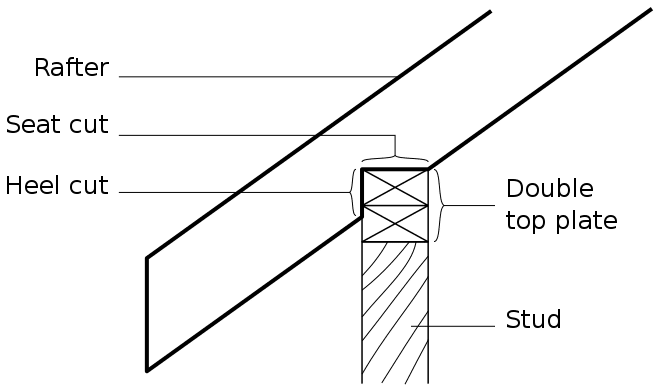
A birdsmouth is a bearing notch used in some rafter designs. It does not turn a rafter into a truss, and it does not justify removing a truss bottom chord.
A conventional rafter roof may require rafter ties or another designed system to prevent the walls from spreading. A structural ridge beam is different from a ridge board and needs designed supports and connections. Do not assume a high collar tie replaces a lower rafter tie.
Follow the rafter design for bearing and notch limits. Never cut a birdsmouth into a manufactured truss or remove a chord or web without an approved modification design. See the separate shed roof-building guide for the wider roof-framing stage.
The illustration and video below describe rafter concepts rather than an alternative truss that can simply omit its bottom chord.
Rafter video walkthrough
Check the design before using video details
Shed truss questions and next steps
Can I build shed trusses myself?
Only work from a complete design appropriate to the shed, and make sure you have the skills, tools and safe installation arrangements it requires. Manufactured trusses may be a practical alternative to site fabrication.
Can I cut a truss to add loft space?
Do not remove or modify chords, webs or connectors without an approved design. Plan storage loads and usable space before ordering the roof system.
What should I check before installing roof sheathing?
Verify placement, bearing, connections, required temporary and permanent bracing, damage checks and any required inspection. Then follow the design and panel instructions for sheathing.
Next, compare shed roofing materials; the covering must suit the roof slope and design loads. Return to the construction guide for the full sequence.
If you are still choosing a shed design, explore Ryan’s Shed Plans as a paid planning resource. Check the available roof details before buying, and have the selected design reviewed for your site and local requirements. A purchased plan is not automatically a project-specific engineered truss design.