

Introduction
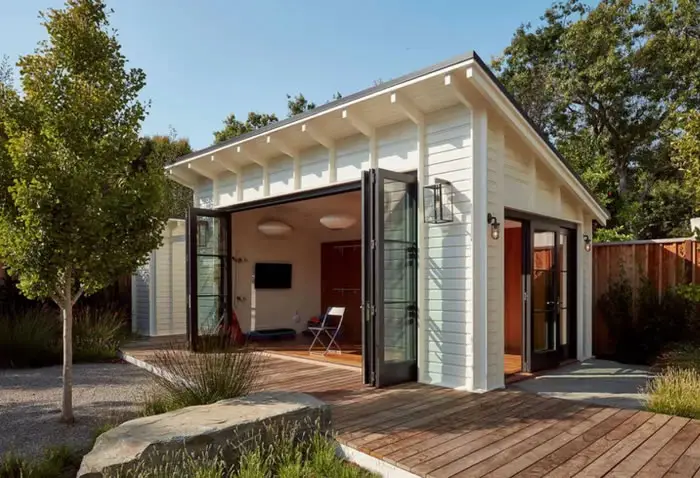
If you are going to install an outdoor shed it can transform your backyard by providing storage, organization, and even a workspace. But a poorly installed shed can lead to water damage, shifting foundations, and costly repairs.
This complete guide walks you through how to install an outdoor shed from planning, site prep, foundation building, assembly, and maintenance, ensuring your shed is stable, weatherproof, and long-lasting.
Step 1: Choose the Right Location
Before you start building, shed placement is crucial.
Things to consider:
Flat, well-drained area: Avoid low spots that collect water.
Distance from property lines: Check local zoning laws.
Accessibility: Make room for lawn equipment and walking paths.
Sun and wind exposure: Protect against moisture and rot.
💡 Pro Tip: Avoid placing sheds under large trees—falling limbs and leaves can damage your roof and clog gutters.
Step 2: Check Local Permits and Regulations
Many homeowners are surprised to learn that outdoor sheds often require permits.
Check your local regulations for:
Minimum distance from property lines
Maximum shed height or square footage
HOA rules for appearance and placement
Why it matters:
Non-compliance can lead to fines or forced removal.
You’ll need permits for electrical wiring or plumbing inside the shed.
Step 3: Prepare the Site to Install An Outdoor Shed
A solid foundation starts with proper site prep.
How to prepare the area:
Mark your shed’s dimensions with stakes and string.
Remove all grass, roots, and debris.
Level the ground with a long 2×4 and a carpenter’s level.
Add a 4–6 inch layer of gravel for drainage if needed.
Avoid this mistake: Skipping site prep can cause shifting, leaning, and water pooling under your shed. Remember to check out shed options at your local Lowes Store.
Step 4: Build a Sturdy Shed Foundation
Your foundation determines how long your shed lasts. The three most common options are:
1. Gravel Pad
Best for: Small to medium sheds
Pros: Affordable, easy to install, excellent drainage
Cons: Not ideal for large or heavy sheds
2. Concrete Slab
Best for: Large or permanent sheds
Pros: Strong, durable, prevents critters from digging under
Cons: Higher cost, requires proper framing and curing time
- Learn more about concrete foundations here.
3. Paver Blocks
Best for: Lightweight, temporary sheds
Pros: Quick installation, inexpensive
Cons: Less stable than concrete
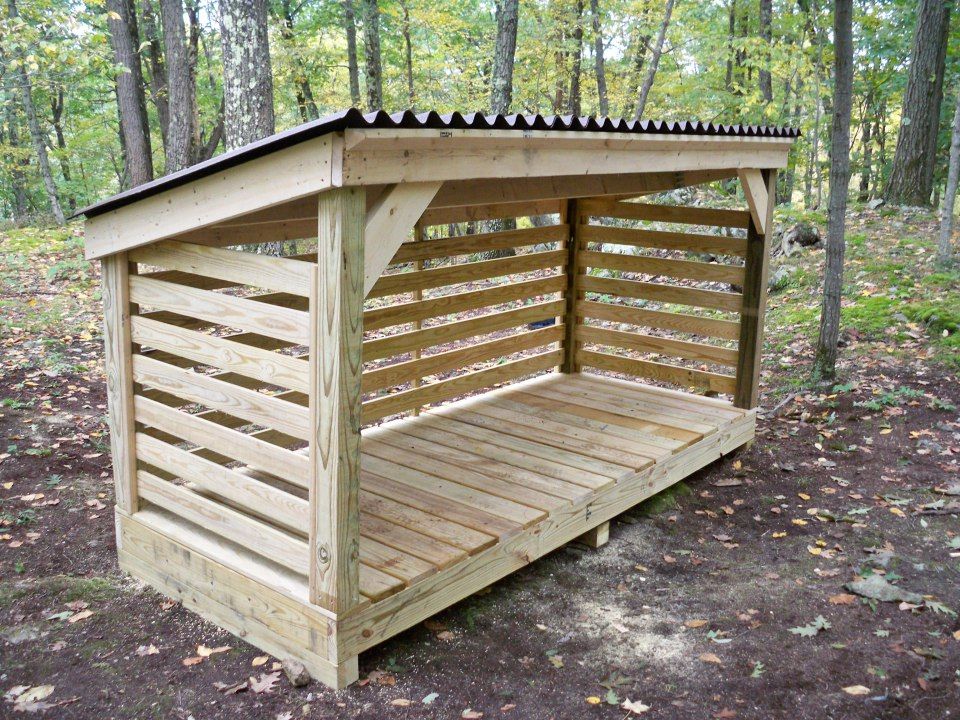
💡 Pro Tip: Use pressure-treated lumber for framing to prevent rot.

Step 5: Assemble Your Shed
Follow your manufacturer’s instructions, but here’s a general sequence to install an outdoor shed:
-
Lay down the base/floor panels and anchor them to the foundation.
-
Assemble wall panels and secure them with proper fasteners.
-
Install roof trusses and panels carefully to avoid leaks.
-
Attach doors and windows, ensuring proper alignment.
-
Seal joints and corners with outdoor-grade caulk if needed.
Safety Tip: Have at least one helper for lifting and aligning panels.
Step 6: Anchor and Weatherproof Your Shed
Wind and water are the biggest threats to outdoor sheds.
Anchoring Methods:
Concrete anchors (best for slab)
Ground auger anchors (best for gravel or soil)
- More on anchoring your shed with this post.
Weatherproofing Steps:
Apply roof sealant or shingles if not pre-installed
Paint or stain wooden sheds
Add gutters and downspouts to direct rainwater away
Step 7: Inspect and Maintain Your Shed
A well-installed shed can last 20+ years with simple care:
Check roof and walls seasonally for leaks or damage
Keep gutters and surrounding area clear of debris
Reseal or repaint wooden sheds every 2–3 years
Inspect anchoring after major storms

Common Questions About Shed Installation
1. How long does it take to install an outdoor shed?
Small prefab sheds: 4–8 hours with two people
Large sheds: 1–2 days or more
2. Do I need a professional to install my shed?
Not always. DIY is fine if you have basic tools and a helper.
Hire a pro for custom builds or electrical installations.
3. What is the cheapest way to build a shed foundation?
A gravel base with pressure-treated 4x4s is the most affordable and effective for small sheds.
Conclusion
Installing an outdoor shed is doable for most homeowners, but planning and preparation are key. A proper foundation, weatherproofing, and routine maintenance will ensure your shed lasts for decades.
Next Step:
Check out our Shed Plans Below.