
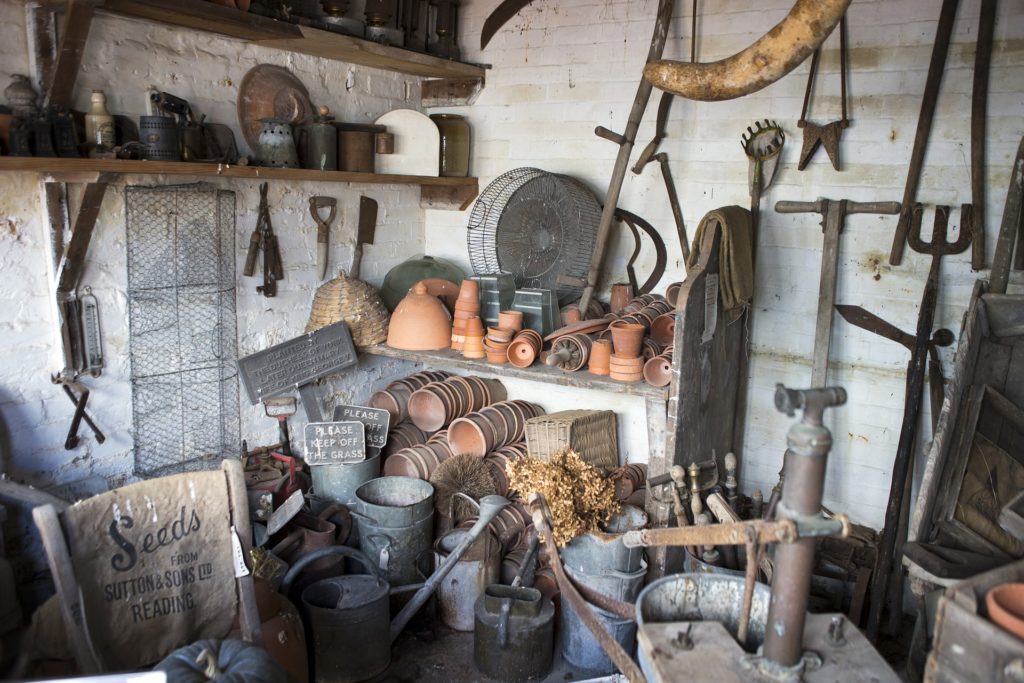
To organize a shed, decide what it needs to hold, sort what you own, remove items you no longer need and give the remaining equipment a usable home. Buy shelves and bins after sorting—not before—so the storage matches the items you actually keep.
This guide uses the PACT reminder from our original article: Pile, Analyze, Cash-in and Tidy up. The practical goal is a shed where you can reach everyday tools, move large equipment and leave without climbing over stored items.
Start with the shed’s job and access route
Choose the main uses of the space: garden tools, lawn equipment, a workbench, seasonal storage or a combination. Measure the usable wall space and the largest items, including room to turn them through the doorway.
Keep a clear route from the entrance to the things you use most. Account for door swing, windows, vents and access needed to inspect the building. Before filling a damaged shed, use our shed repair checklist to identify leaks, unsafe floors or other problems.
P — Pile similar items together
Work in manageable sections, using a dry area where items will not block paths or be left exposed to weather. Group ordinary tools and equipment by use: gardening, lawn care, hand tools and seasonal items, for example. There is no required number of groups; choose categories that make sense for your shed.
Do not combine paints, fuels, pesticides or unknown containers into a general sorting pile. Follow their labels and keep them separate from ordinary household storage. Leave leaking or deteriorated chemical containers for appropriate local advice rather than opening or decanting them.
A — Analyze what to keep

For each item, ask whether you use it, whether it works, and whether the shed is a suitable storage environment. Make clear groups for keeping, repairing, donating or selling, and disposal. Set a specific review date for uncertain items so they do not become another permanent pile.
Check duplicates before replacing broken equipment. A repair may be more practical than a purchase, and some items may belong somewhere drier or more temperature-controlled. Do not assume a plastic bin makes an unconditioned shed suitable for every possession.
C — Cash-in, donate or dispose responsibly
Sell or donate usable items only when the recipient accepts them and their condition is appropriate. Keep items awaiting collection in a defined area with a deadline. Check local collection and recycling options for the rest instead of putting everything in general trash.
EPA’s household hazardous-waste guidance advises following product labels, keeping hazardous products in their original labeled containers, never mixing leftovers and consulting local waste authorities about disposal. Paints, chemicals and other potentially hazardous leftovers need their own plan; they are not ordinary decluttering rubbish.
T — Tidy up with storage zones
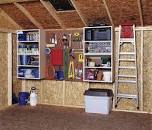
- Daily-use zone: put frequently used hand tools where they are easy to reach and return.
- Large-equipment zone: reserve floor space and a clear exit path for mowers, carts or other bulky items.
- Long-tool zone: select a rack designed for the particular tools and mounting surface.
- Seasonal zone: use labeled containers for suitable items you retrieve less often, without blocking maintenance access.
- Work zone: leave enough room to stand, handle materials and open drawers at the bench.
Choose shelves and racks by fit and load
Read the manufacturer’s shelf and total-unit load limits, installation instructions and any anchoring requirements. Ratings depend on the specified assembly and load distribution; a rack is not suitable for “anything heavy” simply because it looks sturdy. Keep heavy items low and avoid unstable stacks.
Check the shed wall or floor before fixing or loading storage. Thin cladding is not automatically a structural mounting surface, and roof framing should not be used for hanging storage without a design that permits it. Our shed floor guide explains why planned loads matter.
Measure shelf depth as well as width: storage that fits against a wall can still leave too little working room. Label bins clearly and store tools so blades and sharp points do not project into the access route. Follow equipment and chemical labels for storage conditions.
Keep it organized after the first cleanout
- Return tools to their assigned places after use.
- Review the repair and donation groups regularly.
- Check that doors, vents and walking routes remain clear.
- Look for leaks or dampness during routine visits; see our timber shed care guide.
- Reassess the layout before adding another large item.
When more storage really means a different shed
Try sorting and measuring before deciding that you need a larger building. If the remaining equipment genuinely exceeds the usable space, plan the replacement around access, floor loads and storage zones. Start with the main shed construction guide.
Affiliate disclosure: we may earn a commission through the following link. For a new wooden shed, you can review Ryan’s Shed Plans as a paid planning resource. Check the designs before buying; purchasing plans is not necessary to organize the shed you already have.