
To insulate a shed floor, first identify the floor assembly, fix moisture problems and choose a material that fits the available space. A raised timber floor, a concrete slab and a factory-made plastic floor need different approaches. Plan air sealing, insulation support and protection together—not just the insulation itself.
Insulation slows heat transfer; it does not produce heat, provide air conditioning or guarantee frost-free storage. This guide helps you plan a practical upgrade without trapping moisture or weakening the floor.
Affiliate disclosure: We may earn a commission if you buy through our Ryan’s Shed Plans link, at no additional cost to you.
Before buying materials, answer these questions:
- Will the shed remain unheated storage or become a conditioned workshop?
- Is the floor raised timber, concrete, or part of a manufactured shed?
- Is there safe access beneath it, or would the structural subfloor need removal?
- Are there leaks, damp timber, pests or drainage problems?
- What insulation level, moisture controls and protective covering does the proposed assembly require?
Start with our shed floor design guide and complete construction guide if the shed is still on the drawing board.
Plan floor insulation before building

New construction offers the easiest access to joist bays and the underside of the floor. Decide the complete assembly before installing the subfloor, including the insulation thickness, supports, air barrier and weather-resistant underside protection.
For ordinary garden-tool storage, floor insulation may not justify its cost. For a heated hobby room or office, it can be part of a whole-building thermal envelope that also includes walls, roof, doors and windows. Confirm whether the intended use needs permits or changes to the structure and services.
Ask a kit supplier for a written floor detail and compatible insulation options. Do not assume a standard shed package includes energy-code compliance, a vapor-control design or protection for temperature-sensitive contents.
Insulating an existing shed floor
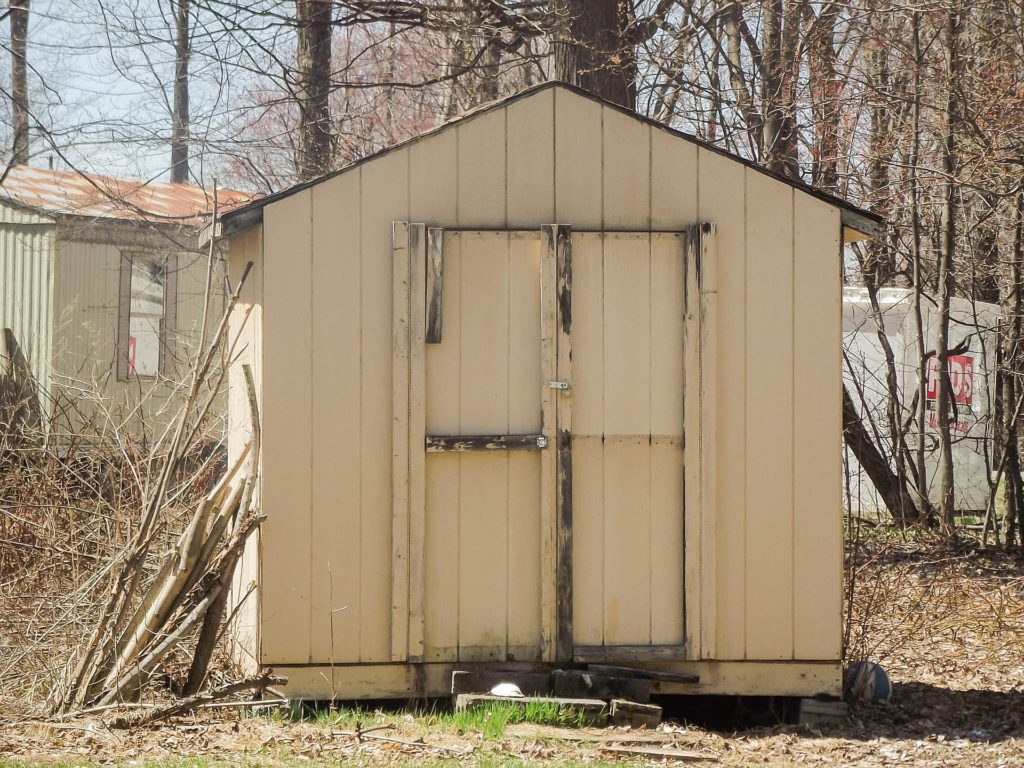
For an existing shed, inspect the floor and supports before deciding where to work. Do not crawl beneath an unstable shed or one supported only by a jack. If lifting or moving the building is necessary, use a qualified contractor with a safe support plan.
Accessible raised floors may be insulated from below. Where access is too tight, selective subfloor removal or an above-floor retrofit may be possible, but first check structural connections, floor height, door clearance and loads. Do not cut joists or casually remove structural sheathing.
What about plastic or resin sheds?
Check the shed manufacturer’s instructions before attaching boards, adhesives or spray foam to factory panels. Thin reflective bubble products are not automatically equivalent to bulk insulation. Reflective systems require their specified air space; see the national laboratory’s radiant-barrier installation guidance. A floor upgrade alone will not turn a lightweight storage kit into a conditioned room.
Timber floors, concrete slabs and gravel bases
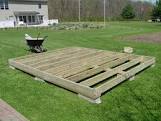
Raised timber floors: insulation can fit between joists, but it needs durable support and protection from weather and pests. An open underside is not the same as an enclosed crawlspace; avoid copying a crawlspace detail without checking whether it suits the shed.
Concrete slabs: these can be insulated. For a new slab, plan under-slab and perimeter insulation with the foundation, load and moisture details. For an existing slab, an above-slab insulation and subfloor system may be possible, subject to moisture, compressive strength and height constraints.
The University of Alaska’s existing-building insulation guide describes slab retrofit principles; it is not a universal shed specification. A heavy mower or workshop machine needs a floor system designed for its loads.
Skids over gravel: gravel does not replace floor insulation or guarantee safe underside access. Coordinate with the foundation design before closing the floor.
Climate, condensation and vapor control

Climate affects heat flow, condensation risk and drying potential. Insulation can reduce heating or cooling demand in a conditioned shed, but an unheated building can still approach outdoor temperatures during prolonged cold or heat. Store batteries, finishes and other sensitive items according to their manufacturers’ temperature limits.
Air barriers and vapor control are different
An air barrier limits air leakage. A vapor retarder limits water-vapor diffusion. Neither repairs bulk-water entry. Avoid a blanket rule to wrap every shed floor in polyethylene: the correct layer and position depend on climate, indoor conditions and the other materials. An assembly should have a suitable drying path.
Have a local building professional review moisture-sensitive retrofits. Keep roof and room ventilation coordinated using our shed ventilation guide.
Match insulation to the way you use the shed

A workshop used every day has different needs from a shed opened briefly to collect tools. Decide your target conditions, heating or cooling system and operating hours before choosing insulation. Intermittent heating can also change condensation behavior.
Insulation does not add structural capacity. Check the floor’s design for benches, stored materials, equipment and concentrated wheel loads. If you add a raised floor over insulation, include its weight and the way it transfers loads.
Keep electrical work, heating equipment clearances and ventilation in the plan. Do not use an unvented combustion heater as a shortcut to making an insulated shed comfortable.
Shed floor insulation materials compared
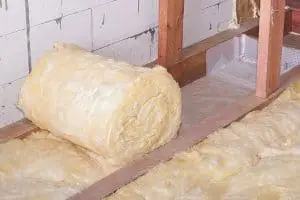
Fiberglass and mineral-wool batts
Batts can suit joist cavities when installed to the product’s specified fit and thickness. They are not an air barrier and must not hang loose beneath the floor. Plan permanent support and a protective underside assembly. Wear the manufacturer’s recommended protective equipment.
Rigid foam boards
EPS, XPS and polyisocyanurate products differ in thermal performance, moisture behavior and approved uses. Choose by the actual product rating and assembly, not a claim that all foam is best. Cut and seal as specified; plan attachment, pest protection and any required fire-protective covering. Foam between joists does not eliminate heat flow through the timber.
Spray foam
Professional spray foam may suit difficult details, but product selection, substrate condition, application and re-entry precautions matter. Review the EPA contractor safety checklist with the installer. Do not treat two-component spray foam as an ordinary gap-filling job.
Loose fill
Loose-fill products need a compatible enclosed cavity and installation method. They should not simply be poured into an open underside where they can escape or become wet.
Choosing the right floor R-value
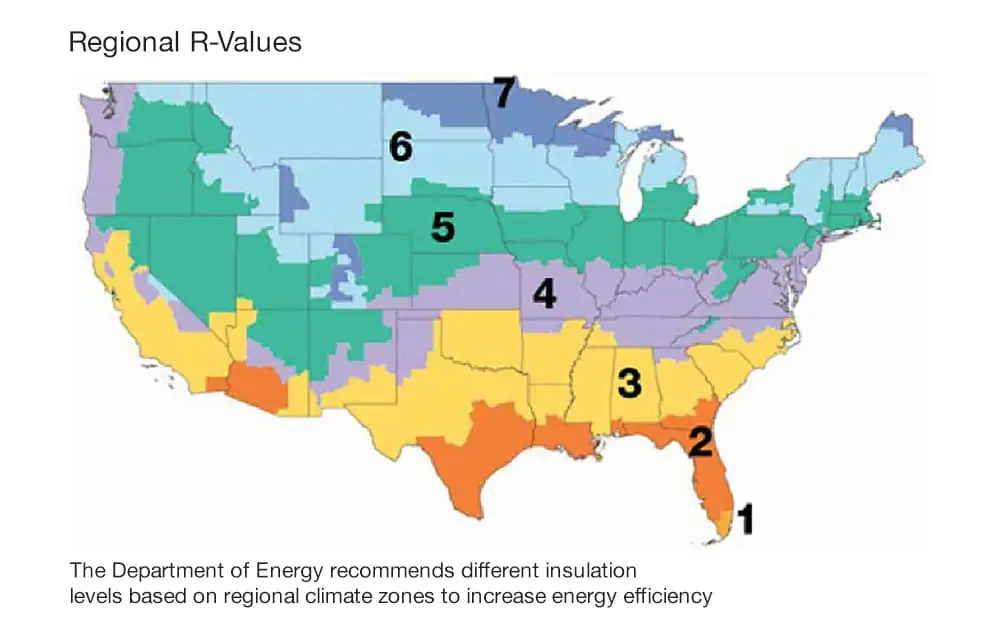
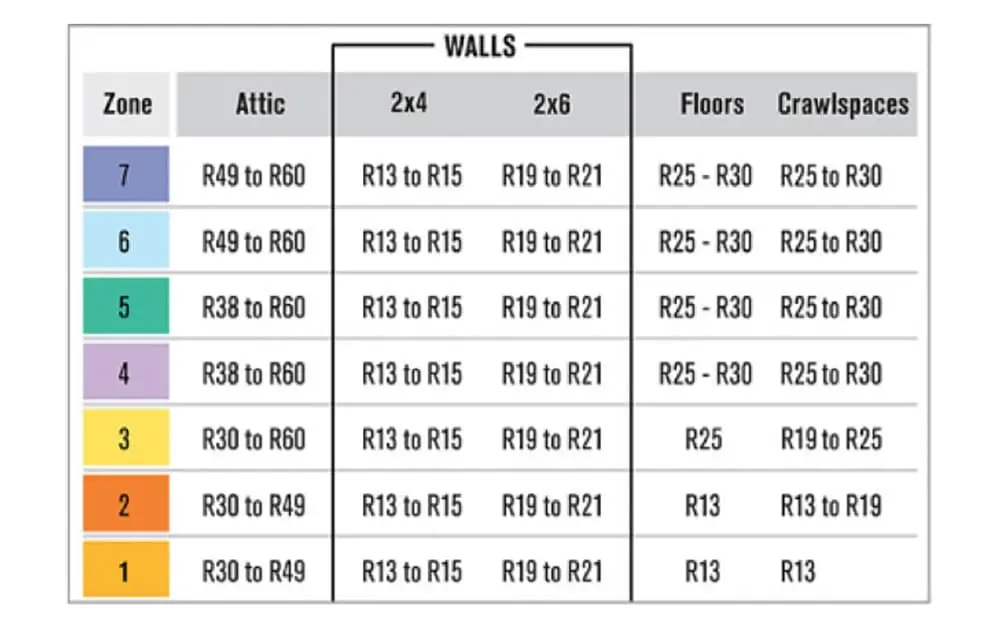
R-value measures resistance to heat flow. The needed value depends on climate, the shed’s use and applicable requirements—not just its footprint. Product thickness and installation quality also matter.
The legacy map and chart above are illustrative, not a current specification for your shed. Check the locally adopted energy requirements and the insulation manufacturer’s current documentation before buying. An unconditioned accessory shed may be treated differently from a heated workspace.
Use the labeled R-value at the installed thickness. Do not assume a compressed batt retains its full labeled performance or select materials solely from an old regional chart. The DOE’s insulation planning guide provides background on material choices and whole-building planning.
How to insulate a raised shed floor
Use this planning sequence for a raised timber floor; final details must suit the product, climate and shed design.
- Inspect and repair. Resolve leaks, drainage, decay and pests. Do not enclose damp or damaged materials.
- Specify the assembly. Identify the insulation layer, air barrier, vapor-control approach, supports and underside protection.
- Prepare safe access. Arrange professional lifting or structural work if required. Locate cables and pipes before fastening or cutting.
- Air-seal appropriate joints. Address perimeter and service penetrations with compatible materials, observing fire and equipment clearances.
- Fit the insulation. Avoid gaps and unintended compression. Support it permanently rather than relying on friction alone.
- Protect the underside. Use a suitable weather-resistant assembly with appropriate pest and fire protection. Do not leave vulnerable insulation exposed.
- Inspect before closing. Photograph concealed work, complete required inspections and maintain future access where needed.
PNNL’s exposed-floor guidance illustrates air-barrier alignment, close-fitting insulation and underside protection. Adapt those principles with a qualified designer rather than copying a house detail unchanged. The video below is an example, not a complete approved floor specification.
Shed floor insulation FAQs and next steps
Will insulation stop the shed freezing?
No. It slows heat loss but does not supply heat. Protect temperature-sensitive items with storage conditions that meet their requirements.
Can I insulate without lifting the shed?
Sometimes: safe underside access, planned subfloor removal or an above-floor system may work. Compare structural implications and door height before choosing.
What should I budget for?
Measure the floor area, then price insulation, air-sealing products, supports, underside protection, finishes and labor. Difficult access and moisture repairs can cost more than the insulation itself. Get quotes for the complete assembly.
After installation, inspect after wet weather and seasonally for dampness, pest damage or loose protection. Use our shed repair guide if problems recur.
If you are planning a new shed, explore Ryan’s Shed Plans as a paid layout resource. Check the package contents before buying; purchased plans do not replace a climate-appropriate insulation design, engineering or local approval.